Windsurfing
Freeride windsurfing is the everyday kit: float, plane, gybe, rinse the gear. This page is a study map — glossary, clickable concept graph, coaching videos, and sections in learning order. Size sail and boom on /weather to your weight and height, not to a pro photo.
23 sections · study map
Concepts
| Term | Meaning |
|---|---|
| Freeride | Everyday planing setup: forgiving board + camless sail for lakes and mild sea. |
| Planing | Board lifts onto the surface; speed jumps; less wetted area. |
| Uphaul | Pulling the sail up from the water with the uphaul line — first recovery skill. |
| Beachstart | Step onto the board in knee-deep water with the sail already flying. |
| Waterstart | Sail lifts you from deep water onto the board — gate to shorter boards. |
| Downhaul | Luff tension that sets draft depth and leech twist. |
| Outhaul | Foot tension that flattens or deepens the lower sail. |
| Catapult | Sudden power throws you forward over the board. |
| Volume (L) | Board buoyancy in litres. ~1 L supports ~1 kg; beginners need large reserve. |
| Side-shore | Wind along the beach — usually friendlier launch than strong offshore. |
Learning map
Click a node to jump. Follow the map top-down, or scroll the article in order.
Foundation
Starts
Motion
What freeride windsurfing is
Freeride windsurfing is the everyday setup most people mean when they say they go windsurfing: a board under your feet, a sail on a mast, and a boom you hold with both hands. The goal is planing — when the board lifts onto the water surface and speed jumps. You do not need competition gear. You need a kit sized to your weight, height, and level, and a wind day that matches that kit.
On lakes and reservoirs freeride usually means steady 8–14 m/s with manageable gusts. Below that you pump and practice. Above that you downsize the sail and often move from a long board (~230 cm) to a shorter one (~180 cm). The Koveh /weather Board tab scales sail size from your weight and boom height from your height — use it before you trust an Instagram setup.
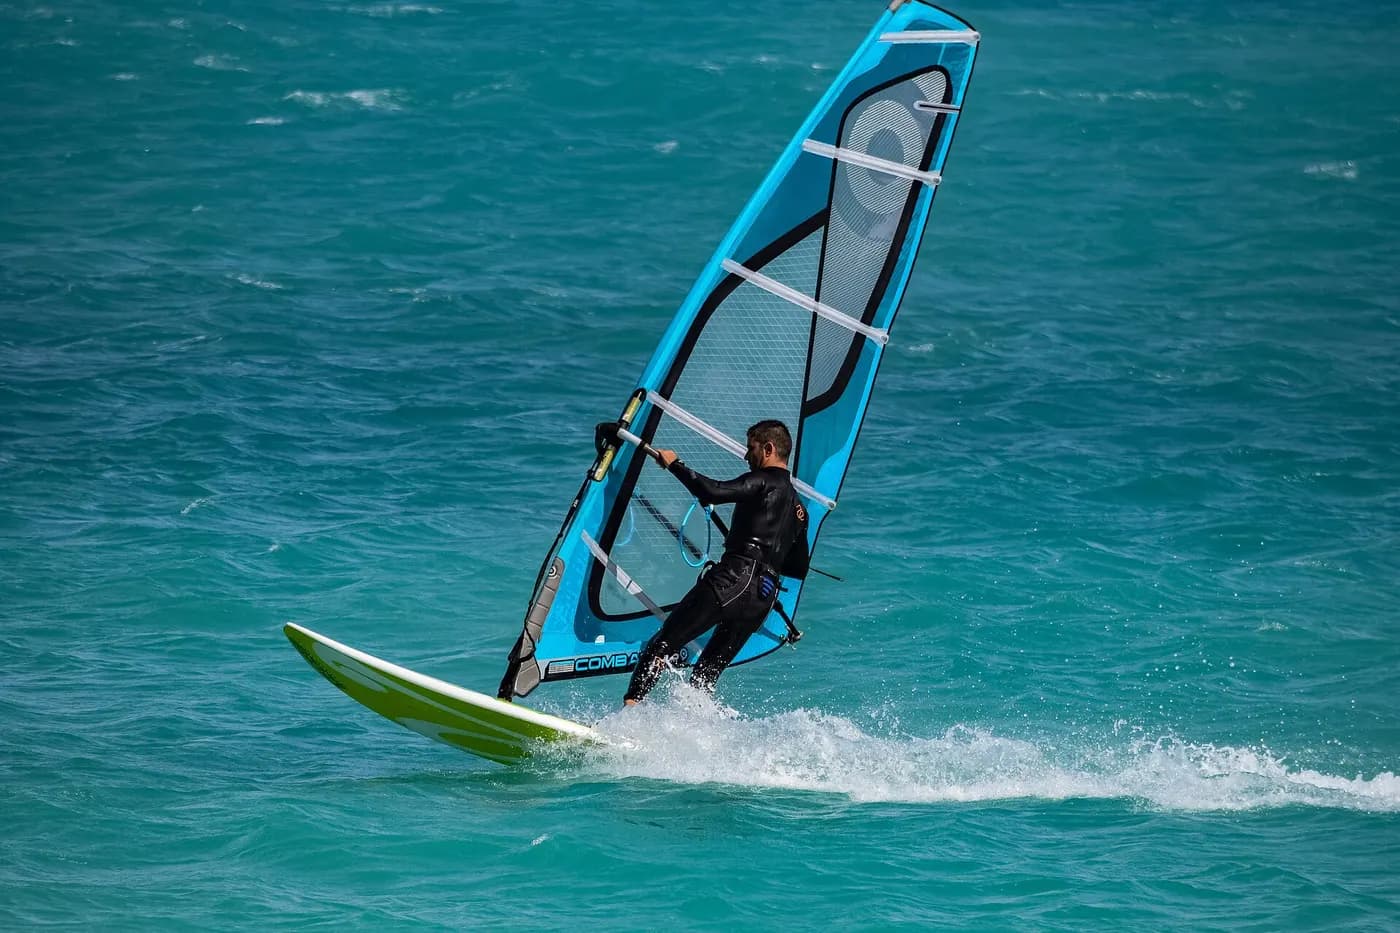
Beginners guide to Windsurfing — GetWindsurfing
Full coaching overview before you invent your own progression.
Start Windsurfing — Starboard
School-pace launch, crossover grip, tack vs gybe.
Gear anatomy
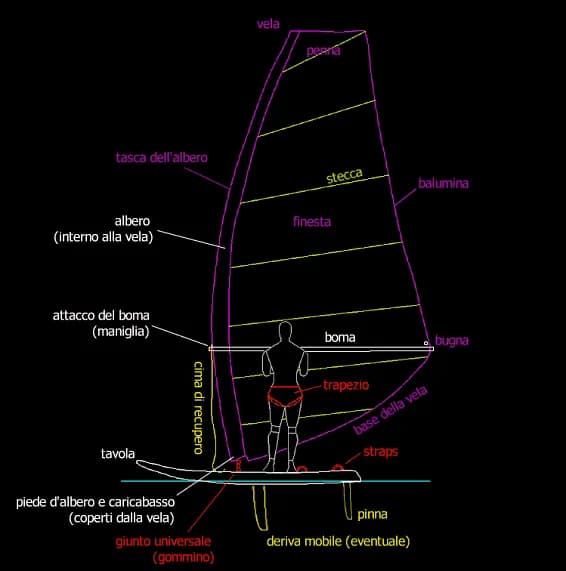
Board: freeride boards are often talked about by length. Around 230 cm with high volume floats earlier and forgives beginners. Around 180 cm is shorter, more turny, and happier once you already plane. Volume in litres matters as much as length: more volume = more float for your weight.
Sail and mast: the sail area in m² sets how much pull you get for a given wind. The mast holds the sail; mast length follows the sail’s luff. Do not confuse mast length with boom height.
Boom: the horizontal bar your hands grip. Set it so that when you stand on the board with soft knees, the boom sits near your shoulders (a bit lower / chest for beginners).
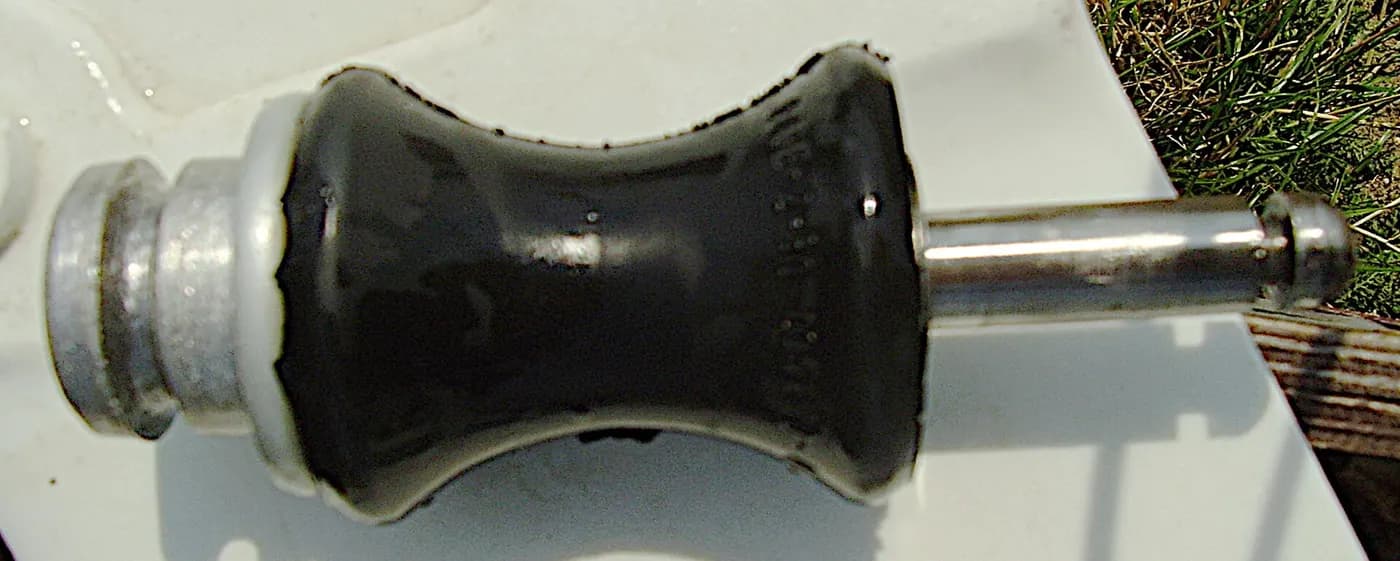
Fin and harness: the fin tracks; a harness lets your weight hang into the boom so arms last longer. Learn without a harness first if you are still falling a lot. The mast foot (universal joint) is the hinge between rig and board — check it every launch.
Reading Windy and live wind
Windy shows model wind (ECMWF, ICON and others). Models disagree near lakes and cities. Use the map timeline, then check live wind and gusts on /weather for your spot. City reservoirs like Strogino are often weaker than the open-model forecast.
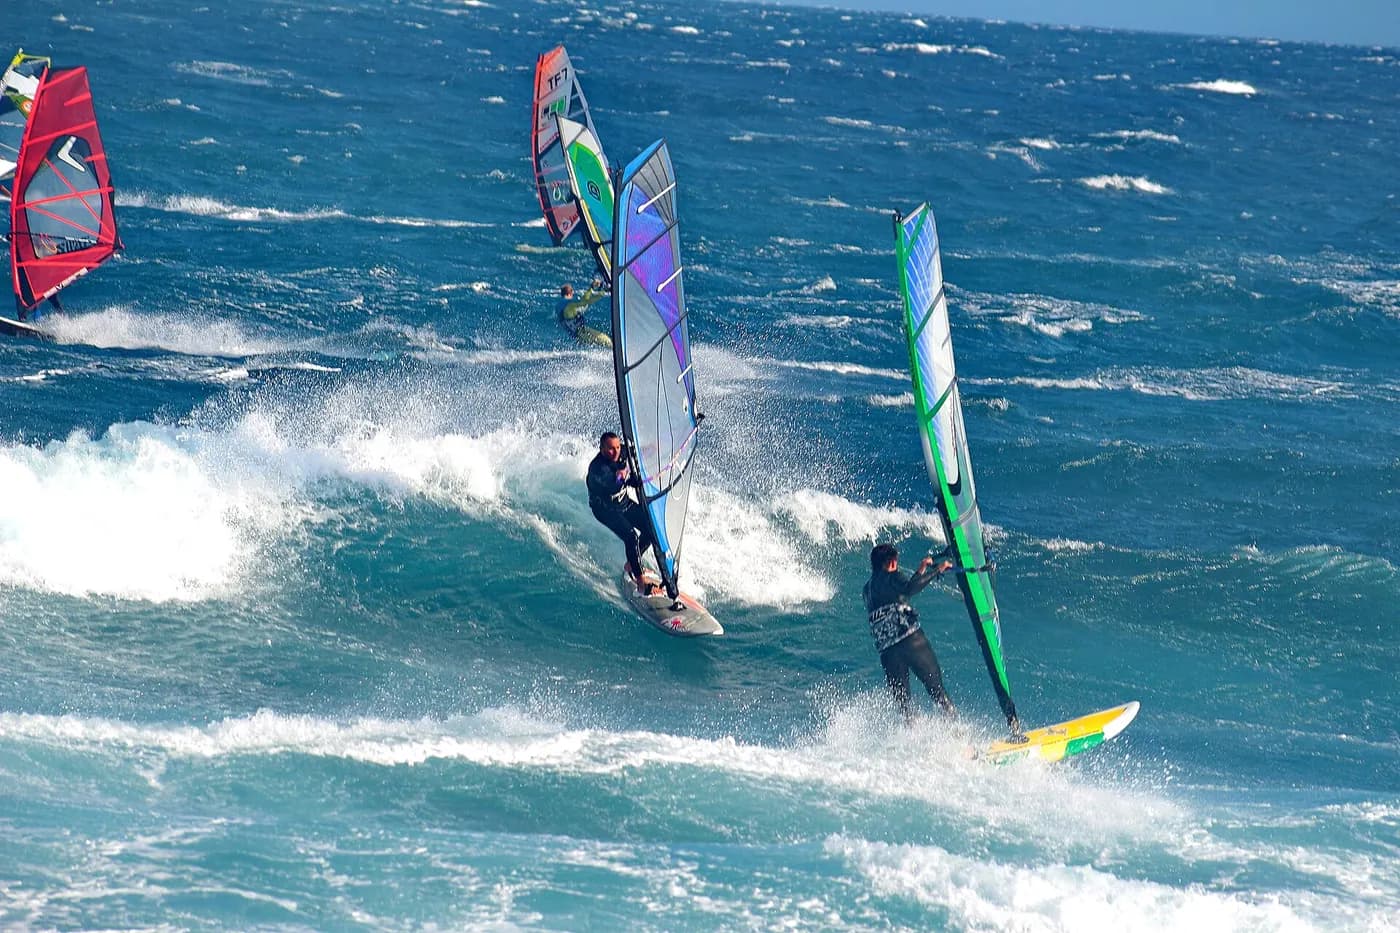
Direction matters for launch: onshore and side-shore are friendlier than strong offshore with no rescue. Flags and water texture beat a phone screen for the next 20 minutes. Dark textured patches are often gusts; glassy strips are lulls — the model will not show tree bounce on a reservoir.
How to start: uphaul → beachstart → waterstart
Land first: practice uphaul with soft knees and an upright mast. Look forward, not at your feet. Then beachstart in knee-deep water: board across the wind, sail over the back of the board, step on and sheet in as the board moves. Beachstart is mostly technique; waterstart needs more wind but the body path is the same idea without the bottom.
Waterstart: lie in the water, clear the rig, set the board on a beam reach or slightly downwind, back foot on the centerline, front arm straight so the sail stands up and lifts you — do not do a pull-up. Until waterstarts are reliable, stay on a long high-volume board. A short 180 will fight you every fall.
Progression rule: uphaul → beachstart → planing on 230 → waterstart → shorter board. Skipping steps wastes sessions and creates fear of falling.
How to Beach start — GetWindsurfing
Step sequence: mast walk, power vs control, step up.
How to WaterStart — GetWindsurfing
Same coaching line as beachstart, in deep water.
Water / beach start simulation — GetWindsurfing
Land drills when the lake is flat.
Stance and boom height
Stand with soft knees, hips over the board centerline, front foot angled, back foot driving. Arms bent, shoulders relaxed. If the boom is too high, you hang and tire. If too low, the sail feels heavy and waterstarts get harder.
School rule of thumb: boom near shoulders while standing on the board. Beginners often set a few centimetres lower. Use /weather Board tab: enter height and read the suggested boom cm range. Adjust on the water after two runs. Mark the clamp with tape once it feels right.
Sail size by wind and weight
Heavier riders need more sail area for the same wind. Gusts matter more than the average: if gusts are ~30% above the mean, size for the gusts or you will be overpowered between them.
Typical freeride bands for an ~85 kg rider: light 5–7 m/s → larger sail and 230; solid 8–11 m/s → mid sail and 230 or 180; strong 12–16 m/s → smaller sail and 180. Scale up or down with weight on the Board tab. Always bring a backup sail if the model and live disagree.
Downhaul, outhaul and sail shape
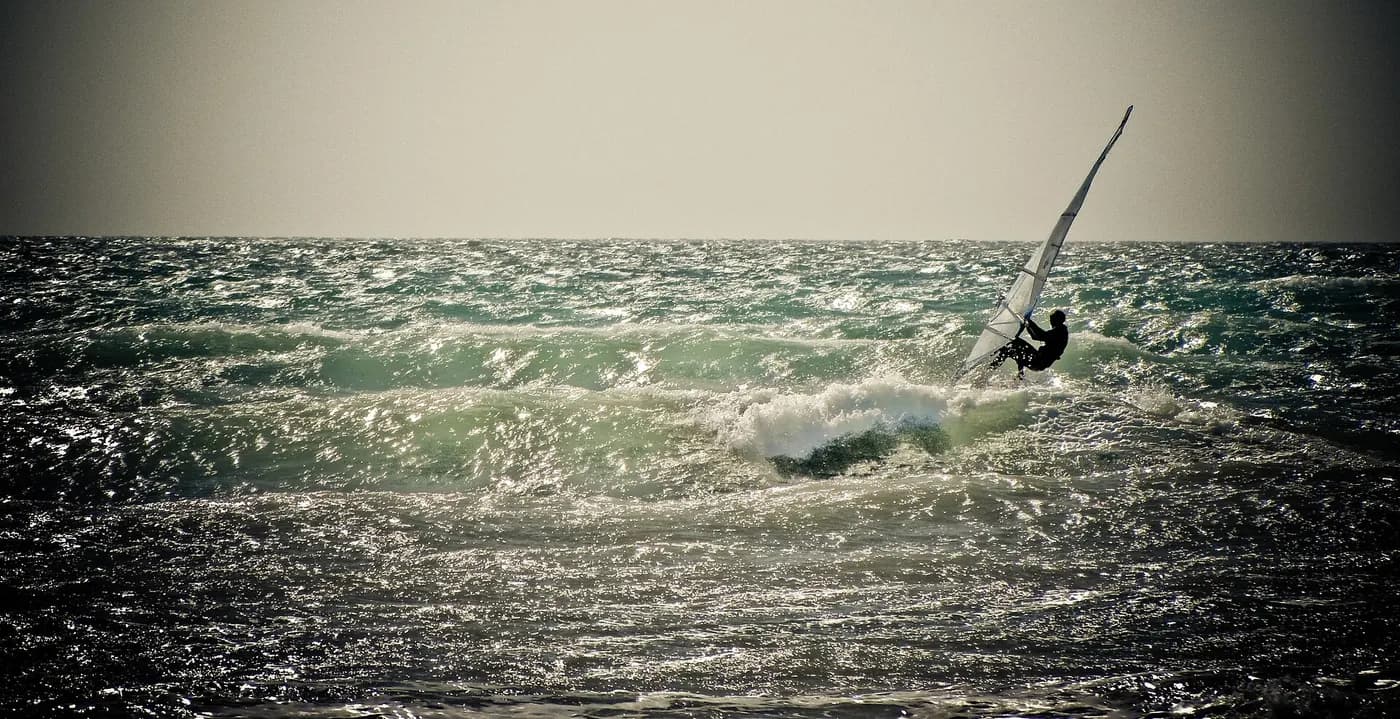
Downhaul tension sets the draft of the sail. More downhaul opens the leech and moves draft forward — better for strong wind and control. Less downhaul closes the leech and powers the sail — useful in light wind if you can still handle the pull. Change one thing at a time and sail two runs before the next tweak.
Outhaul tightens the foot. A tighter outhaul flattens the lower sail and reduces power; a looser outhaul adds depth and pull. For gusty freeride days, slightly more downhaul and a moderate outhaul usually beat a deep, closed sail that feels great for ten seconds and then throws you.
Camber inducers on race sails are a different world. Freeride sails without cams forgive mistakes and pack smaller. Learn freeride tuning first; cams come when you already waterstart without thinking.
Pumping to plane without burning arms
A good pump is a timed sheet-in with a small body drop, then release — not endless arm jerks. Two or three clean pumps that build speed beat twenty angry ones that leave you exhausted in the water.
If the wind average is below your sail’s planing window, pumping only delays the truth. Upsize the sail or wait for wind. On /weather, match sail area to weight and the live metres per second, then decide if pumping is worth it.
Harness lines
Harness lines hang from the boom so you can hook in and hang your body weight into the sail. Set line length so that when hooked in with soft knees, your arms are almost straight and the sail stands powered without pulling you over the front. Too short and you get yanked; too long and you never unload your arms.
Hook in only when you already plane in a stable reach. Learning to plane while hooked in stacks balance problems. Unhook before gybes until the turn is automatic. Line position on the boom matters as much as length — watch a coaching clip before guessing.
Where should I put the harness lines? — GetWindsurfing
Direct answer on boom placement.
Footstraps: when and how
Footstraps come after planing is reliable. First season often means no straps or only soft rear straps. Straps lock your feet when you can already plane straight without looking at the mast foot. Early straps teach panic — you cannot step off cleanly in a crash.
Enter straps one foot at a time on a long board in moderate wind. Front foot first on many freeride setups, then rear. If the board feels locked and scary, loosen strap tension or go back to open stance for a week. Never force both feet into tight straps on an 180 you barely control.
Harness & Footstraps Simulation — GetWindsurfing
Dry drill before locking feet on water.
Gybes that survive freeride wind
A freeride gybe starts with speed on a broad reach, soft knees, and a clear look toward the new direction. Unhook if you use a harness. Step forward, flip the sail as the board turns through the wind from behind, and settle on the new reach without staring at the mast foot.
Most failed gybes are slow entries. If you arrive underpowered, bear away earlier and rebuild speed before the turn. If you arrive overpowered, ease the back hand a touch as you enter so the sail does not lock you into a catapult mid-flip.
Practice on a 230 until the footwork is boring. Moving to an 180 mid-gybe campaign stacks two hard problems: turn mechanics and a twitchy board.
Carve Gybe 1: Preparation — GetWindsurfing
Most gybes die in setup, not in the flip.
Carve Gybe 2: Entry & Carve — GetWindsurfing
Rail pressure and entry line under power.
Carve Gybe 3: Foot change & exit — GetWindsurfing
Feet and sail flip in order.
Catapults and recovery
A catapult happens when the sail powers up suddenly and throws you forward over the board. Ease the back hand immediately when a gust hits, bend the knees, and do not lock your back arm. If you go over, protect your head, keep clear of the fin, and uphaul calmly.
After a swim, check that the mast foot is still locked and the fin is on before the next run. Panic relaunch with a loose mast foot ends sessions.
Board volume and 230 vs 180
Volume is buoyancy in litres. Shop and school sources agree on the physics: about one litre supports about one kilogram of total weight (rider + wet gear + a share of the rig). Beginners need a large reserve on top of that float — Lagoon-style teaching often aims near double the “just floating” figure, and SURF Magazin’s beginner thumb is roughly body weight in kg + 100 L. Do not buy short and low-volume because a catalogue photo looks fast.
For freeride progression after waterstarts start working, a common school band is body weight in kg + about 50–80 L, then adjust for wind and skill. Length and volume interact: a long high-volume 230 floats and planes early; a short mid-volume 180 needs more skill and usually more wind. On /weather the Board tab scales sail area to your weight — pair that sail with a board that still floats you after a fall.
Reading gust lines on the water
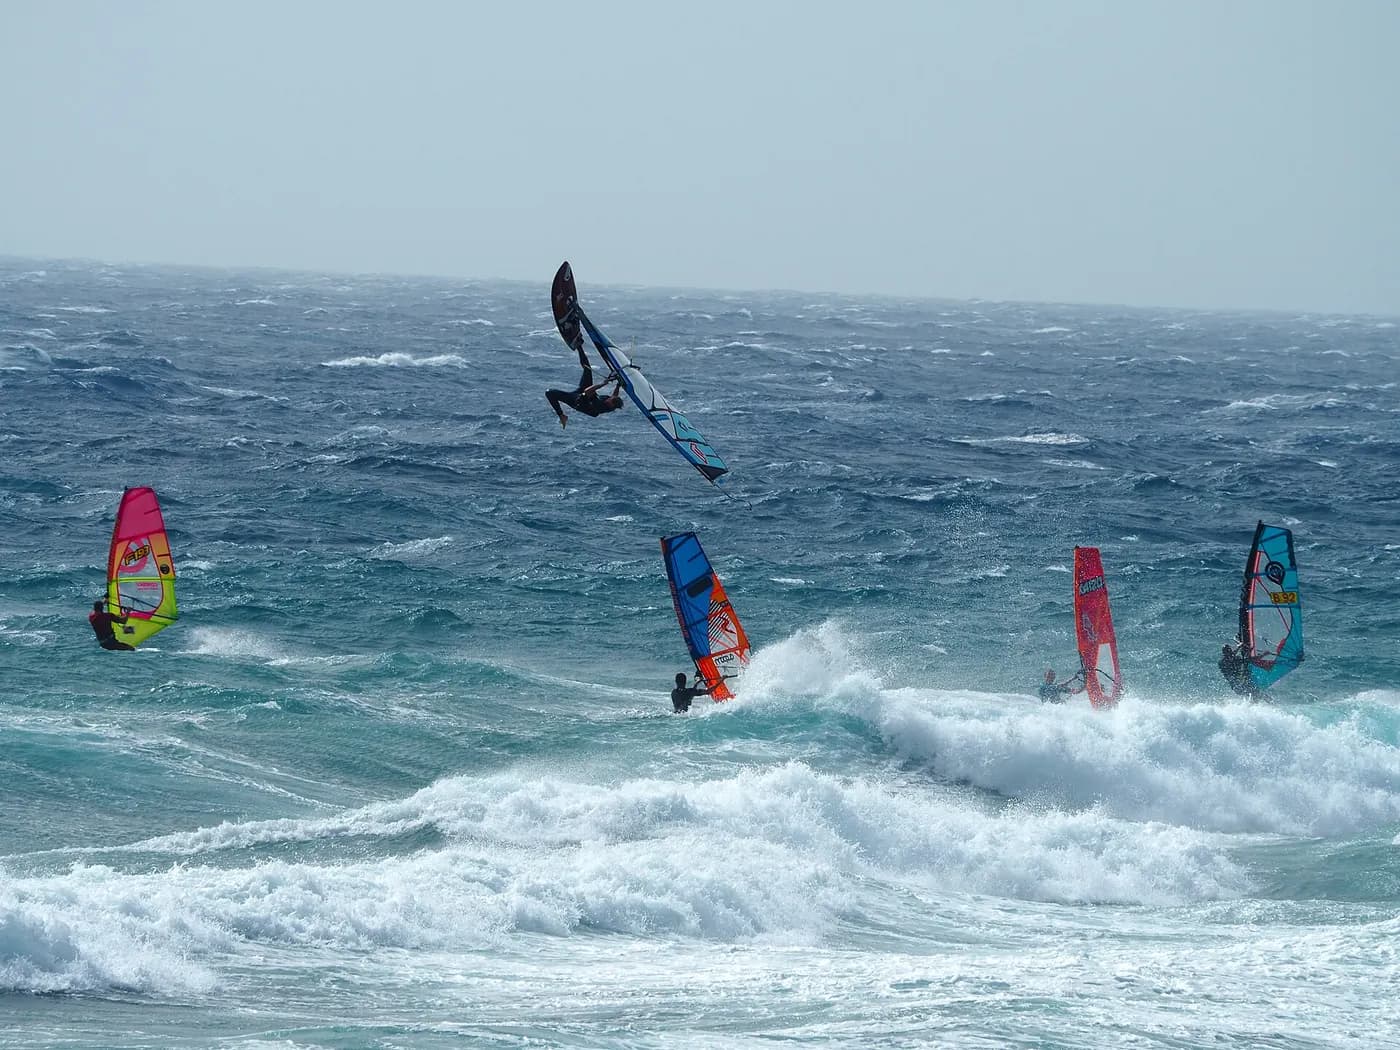
Darker, textured patches on the water are often gusts. Lighter glassy strips are lulls. On a reservoir, gusts can also bounce off trees and buildings — the model on Windy will not show those micro-shifts.
When you see a dark line approaching, ease a fraction before it hits, then sheet in as it settles. Bracing hard into an unknown gust is how catapults start. Between gusts, keep enough speed to stay planing if the average wind supports it — pumping wildly in every lull burns arms for no gain.
When to go and when to skip
Best sessions: steady 8–14 m/s, gusts not wild, daylight, water temperature you can handle with your wetsuit. Skip thunderstorms, lightning, freezing rain, and offshore wind without a rescue plan.
Light days (2–5 m/s) are for technique on a big board or rest. Strong days are fine only if you can waterstart and downsize calmly. Pride is a bad reason to go out overpowered.
Common mistakes
Copying a pro short-board setup before you can plane and waterstart. Setting boom height by eye without standing on the board. Downsizing after one scary gust while the average is still light. Ignoring gusts in the forecast. Looking at your feet instead of where you want to go.
Fix: size kit to you on /weather, stay on 230 until planing feels calm, check gust percentage, and leave ego on the beach.
Self-rescue basics
If the wind dies or gear breaks: stay with the board, sail partially rolled or flagged as your school taught, and paddle or drift toward a safe shore. Do not abandon the board to swim — the board is flotation and visibility.
In offshore breeze without a chase boat, do not launch. Self-rescue against offshore wind is a bad plan dressed as adventure.
Cold water and session length
Water temperature drives wetsuit thickness more than air temperature. Water under about 15°C wants a proper wetsuit, not bravado. Cold hands drop boom control. Shorter sessions with a warm change beat long heroic swims.
Plan the last run before you are empty. The dangerous fall is usually the tired one near shore in front of rocks or a crowded exit. Sun on water burns faster; dehydration looks like fatigue and bad gybes.
Spot etiquette and right of way
Launch clear of swimmers and learners. Give room on collision courses. On narrow reservoirs, follow the local school’s circulation sense if they have one. Look before you bear away; do not blast through a teaching zone for a photo.
If someone is swimming after a fall, give space and do not sail over their gear. A floating boom and mast are hard to see from a planing board. Starboard/port racing rules exist, but courtesy and predictable lines prevent more crashes than quoting rule numbers mid-lake.
Buying used freeride gear
Check mast for cracks near the boom and base, boom for bent tubes and seized clamps, sail for UV-brittle windows and blown seams near the clew, board for soft deck delamination and crushed rails. A cheap sail with a soft mast is not a bargain.
Prefer a known freeride size you already use in school wind over a race quiver you saw online. Ask for the last wind range the owner actually sailed — not the sticker range on the sail bag.
Lake, reservoir and sea
Inland water is often gustier and colder, with shorter fetch and sudden lulls near trees. Sea freeride adds swell, shorebreak, and sometimes cleaner gradient wind — but also currents and busier traffic.
Translate school skills, not school bravado. A solid lake planing day does not automatically mean you are ready for a steep shorebreak entry. Scout the exit before the first waterstart.
First-season roadmap
Month one: uphaul, beachstart, straight reaches on a long board. Month two: planing in 8–12 m/s, first harness sessions. Month three: waterstarts and controlled gybes. Only then shop for a shorter board.
Film one run per session from the beach if you can. You will see boom height and stance errors that feel invisible on the water. Compare to a calm school demo, not to a freestyle video. Measure progress by calm falls and clean exits — not by top speed on one gusty run.
Care, packing, safety kit
Rinse salt and sand. Check mast foot, boom clamps, and fin screws. Roll sails dry when you can. Wear a buoyancy aid or impact vest while learning; helmet helps in crowded spots.
Tell someone your spot and return time. Know the local rules. If you cannot swim confidently in the conditions, do not go.
→ Find your board and sail on the wind map